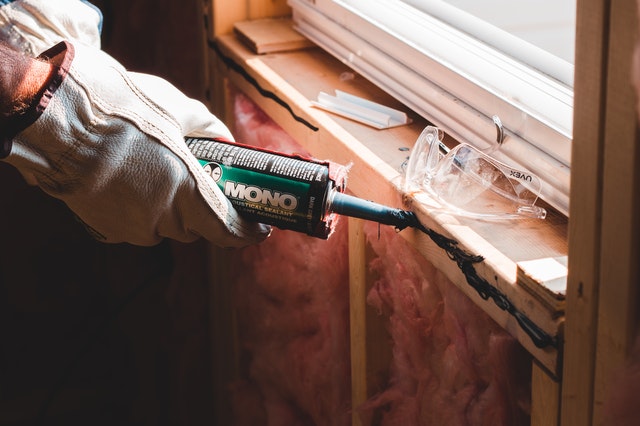
When working in a home or business, caulking can be important in maintenance and upkeep. Caulk is a sealant used on many different surfaces, such as windows and doors. To use a caulk gun effectively, you will need the right materials, techniques, and safety precautions to ensure that your work is effective and efficient. Here’s how to properly use a caulk gun.
1. Prepare the Surface
Before anything else, you’ll need to gather the materials you will need for your projects, such as caulking, a caulk gun, and any additional tools or equipment that may be necessary. The team at PaintersCare.com suggests that you also take the time to “prepare the surface.” This means ensuring that the area you’ll be caulking is clean and free of debris or dirt. If there are any cracks or holes in the surface, fill them in before you start caulking.
2. Load the Caulk
Once the surface is prepared, it’s time to load the caulk into the gun. Choose a paint color that matches your wall. The first thing you’ll need to do is cut the caulk tube’s tip at a 45-degree angle. This will make it easier for the caulking to flow out of the tube. After this, load the caulk into the gun by squeezing it so that the plunger pushes the caulk through a hole on the underside of the gun. You may need to use your fingernail or another sharp object to pull back on the plunger if it gets stuck while loading the caulking into the gun.
3. Start Caulking
Now that the caulking is loaded into the gun, it’s time to start caulking. To do this, place the gun’s tip against the surface that you will caulk. Apply pressure to the gun’s trigger and hold it down as you move it along the surface. Be sure to release the trigger when you stop moving to not waste any caulking. It would be best to apply an even amount of pressure as you move the gun so that the caulking is applied evenly. The best way to practice using a caulk gun is to use it on scrap wood or another surface before starting your project. This will help you feel how much pressure to apply and how to move the gun so that you don’t waste any caulking.
4. Clean Up the Caulk
Once you’ve finished caulking the surface, you’ll need to clean up any extra caulk that may be left on your tools or equipment. Use a wet rag or towel to wipe away any excess caulk from your gun, and then wash it in warm soapy water. When using a caulk gun, it’s important to ensure that you work safely and efficiently to get the best results. Also, check the caulk gun periodically to ensure that it’s not getting too clogged and is working properly. Below is a list of things to keep in mind:
- Wash the caulking gun in warm soapy water
- Be careful not to get any water in the trigger mechanism
- Dry the gun completely before using it again
5. Remove the Caulk
After you’ve finished caulking, you’ll need to remove the caulk from your surface. You can do this by using a putty knife or another sharp object. Gently run the knife along the surface of the caulk to remove it. You may need to use a little bit of force, but be careful not to damage the surface that you are removing the caulk. The caulk is removed to avoid any damage to the surface. If the caulk is not removed, it will eventually harden and become difficult to remove.
6. Storage
After you’ve finished your project and cleaned up all of your materials, it’s important to store your caulking gun properly. You should make sure that it is completely dry before you store it, and then you can either place it in a drawer or hang it up on a hook. If you plan on using the caulking gun again soon, you may want to place it in an airtight container so that it stays fresh until your next project.
As you can see, there are several key steps involved in using a caulking gun effectively. Whether you’re working on a DIY project or caulking for work, it’s important to properly know how to use this handy tool. With the right preparation, technique, and safety precautions, you can ensure that your caulk gun is working at its best so that your project turns out exactly as you want it to.


